Fully intergrated Arduino based on-board computer that uses the OEM display to show vehicle data like Voltage, MAF, Barometric and Boost pressure, Air Intake Temp.
Request from Monotracer owner
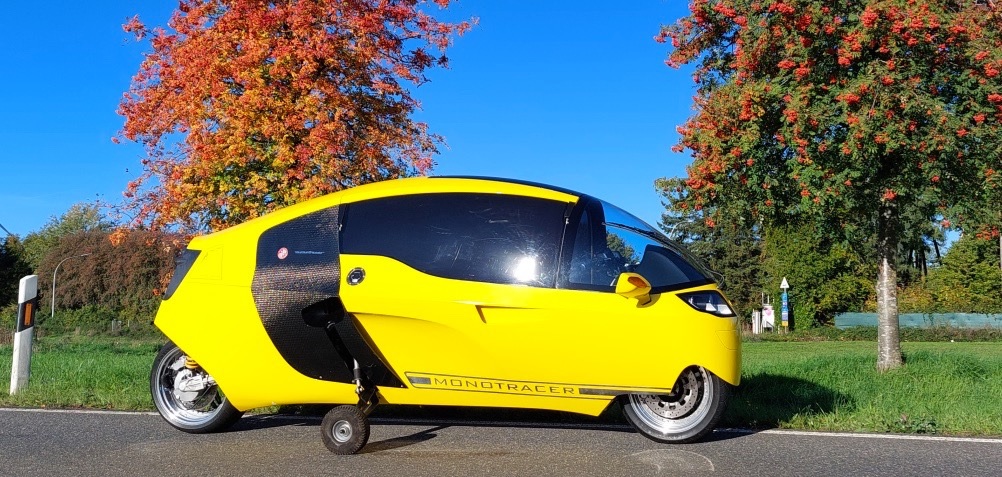
A German owner of a 2012 Mono Tracer contacted me. He was looking for a diagnostic interface for his Electric Mono Tracer. The Swiss build Mono Tracer (Peraves MTE-150) had battery issues and was in need of service. I still had some PCB’s left so I assembled one for him. I was told that he was able to repair his Mono Tracer.
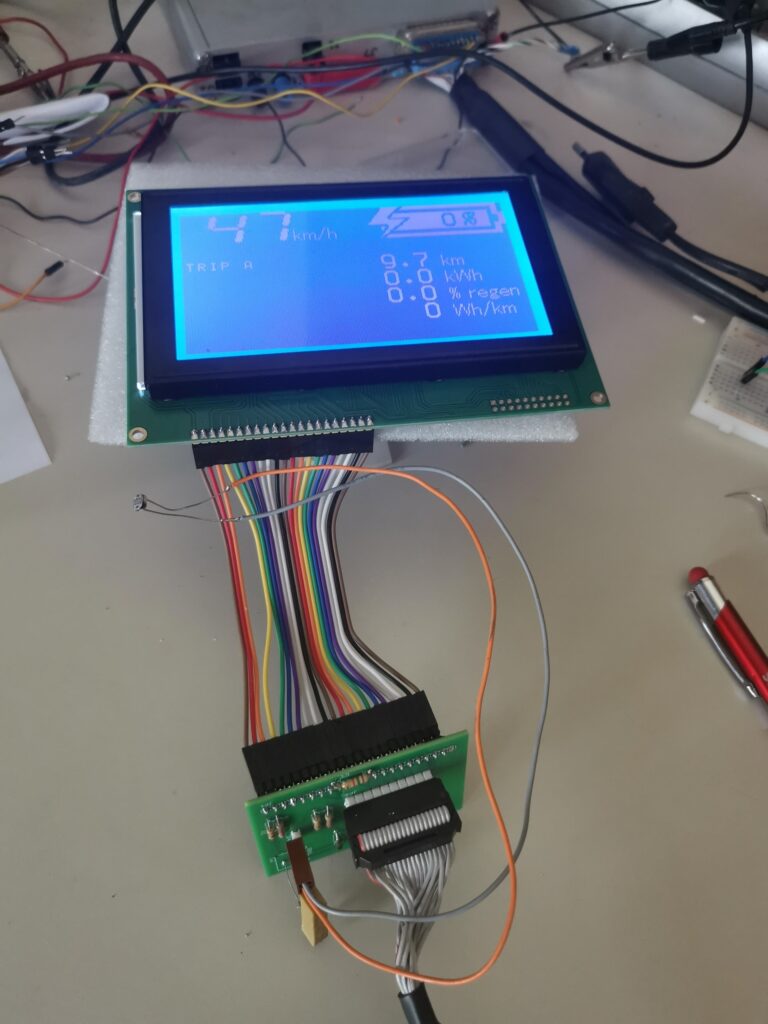
New LCD display
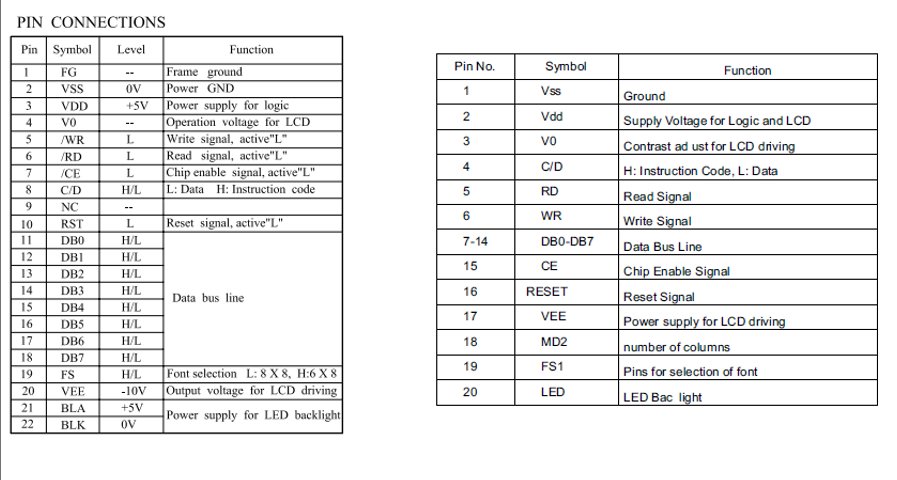
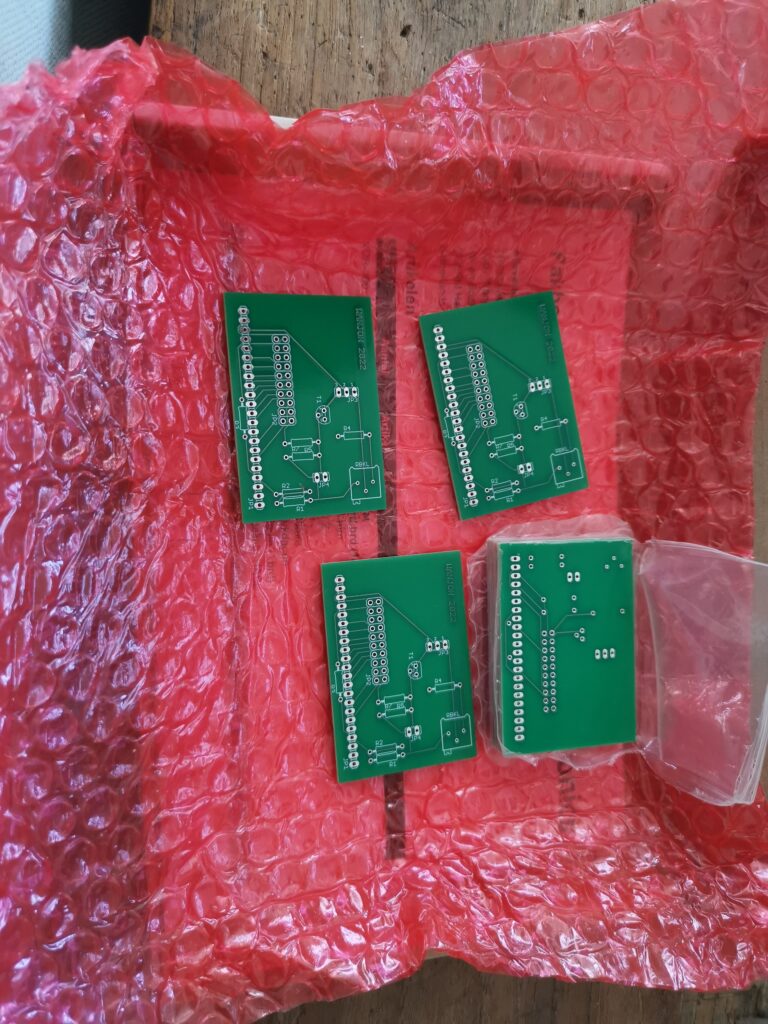
The old LCD display faded and wasn’t readable anymore. The Hantronix HDM128GS24 display is obsolete. Newer displays use a different pin layout. So an easy swap isn’t available. I found a LCM24128 which is similar. I designed a small pcb to adapt the new display to the old pinlayout, given by the header on the flatcable. I added an auto brightness controller. Be3cause the old display didn’t had that and during night time it was quite bright.
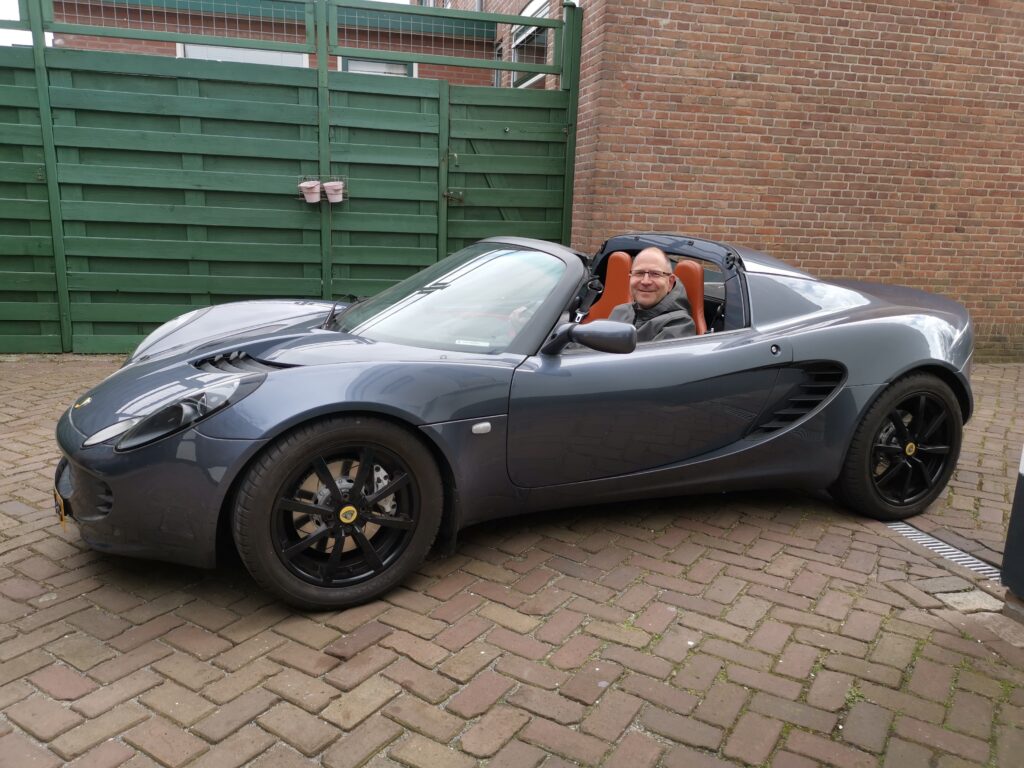
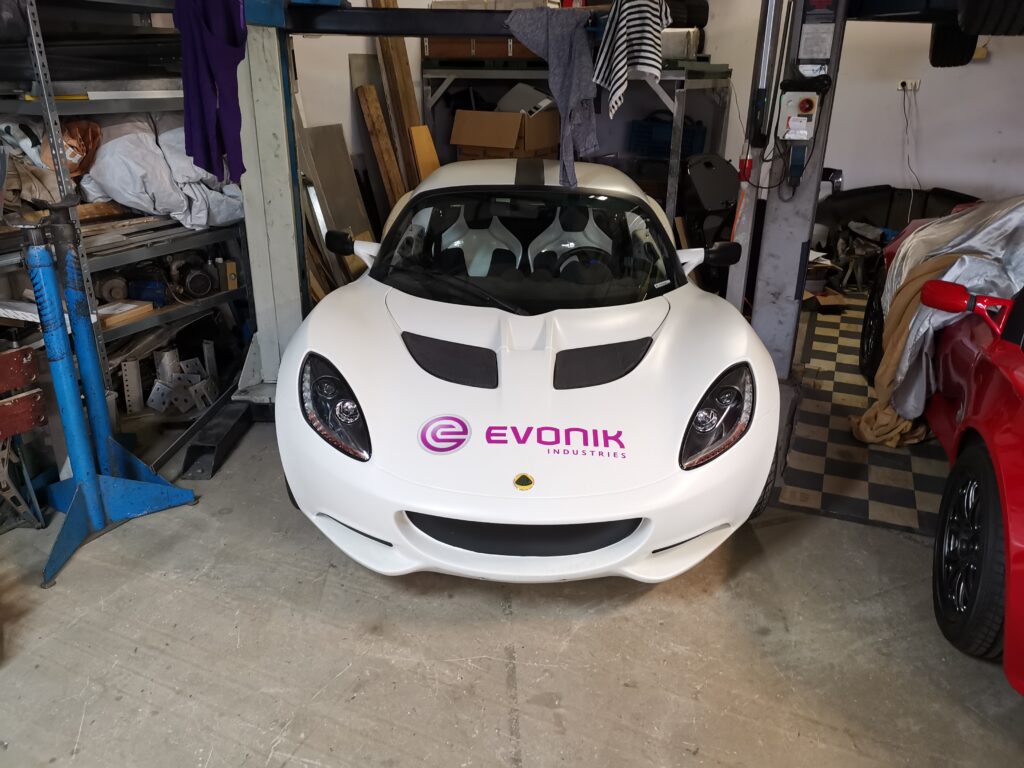
Visited my old Lotus
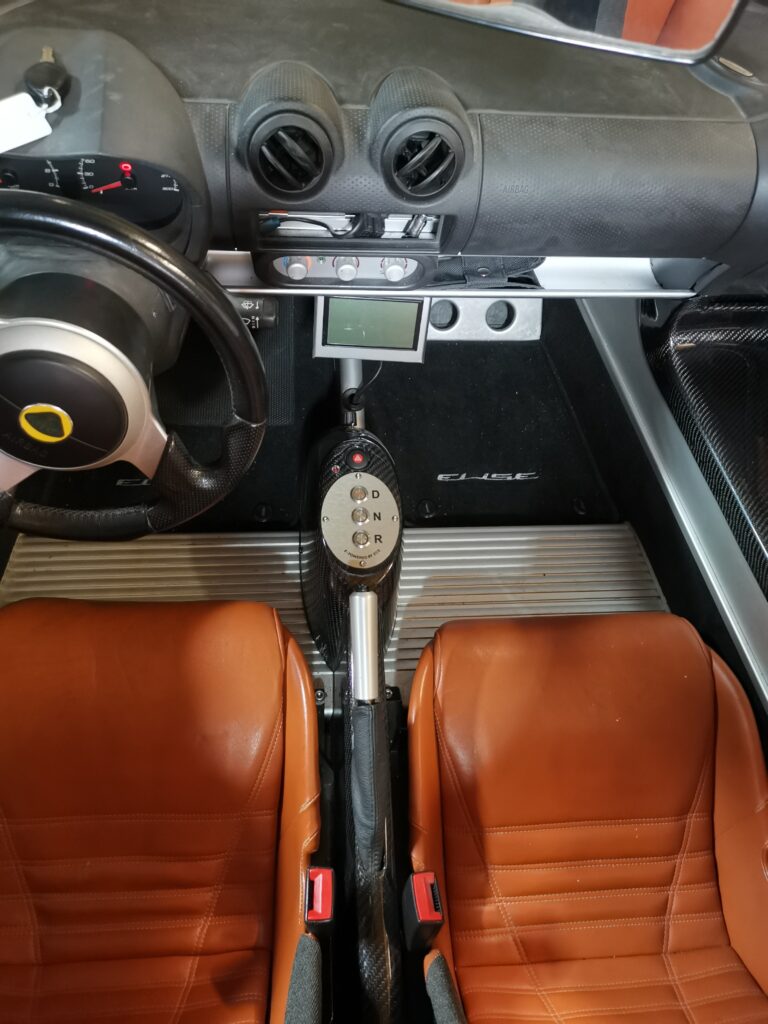
Altramotive contact me about a project the where working on. I seems that they got hold of my Lotus and are in the process of rebuilding the entire car. They where curious about the CAN-BUS integration and the Webasto parking heater control I installed. Altramotive replaced the 6 speed gear leaver with buttons for forward, neutral and reverse.
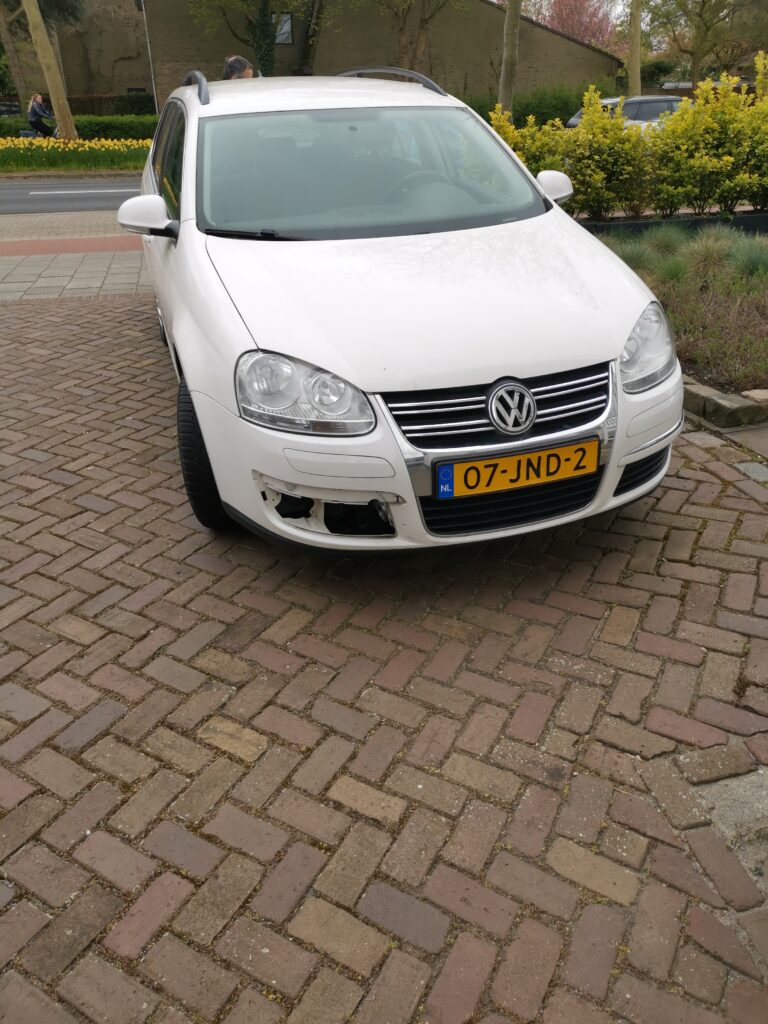
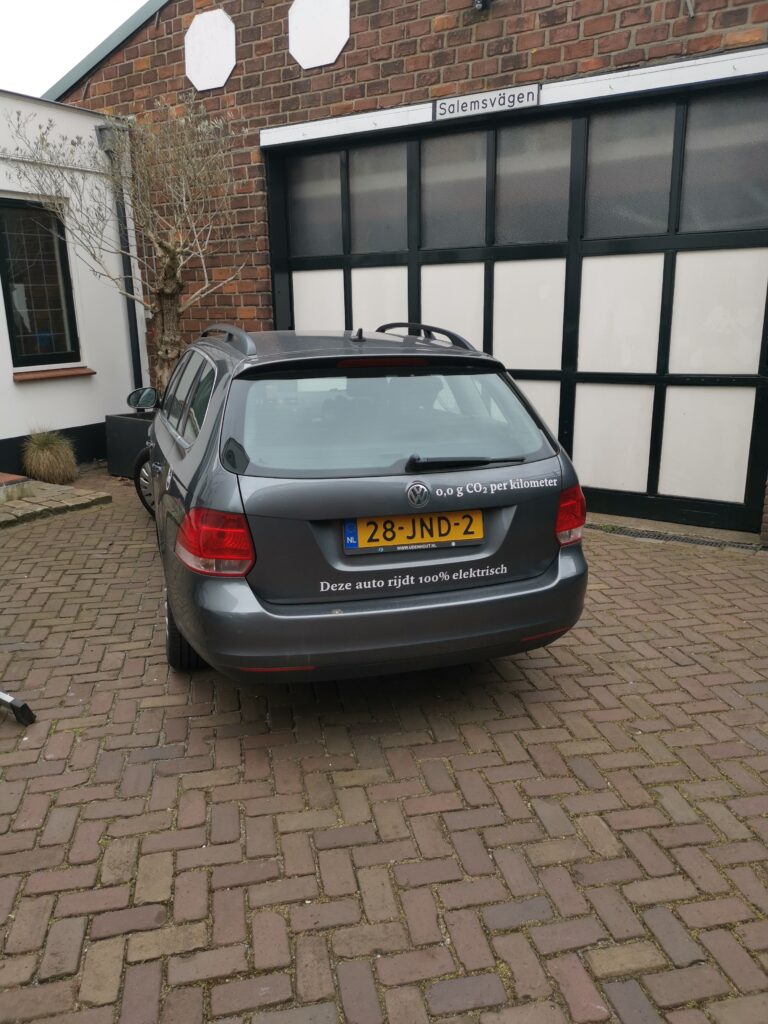
After they finished rebuilding the Lotus, I visited them to take it for a spin. I also had a chance to take a look at some other EV’s.
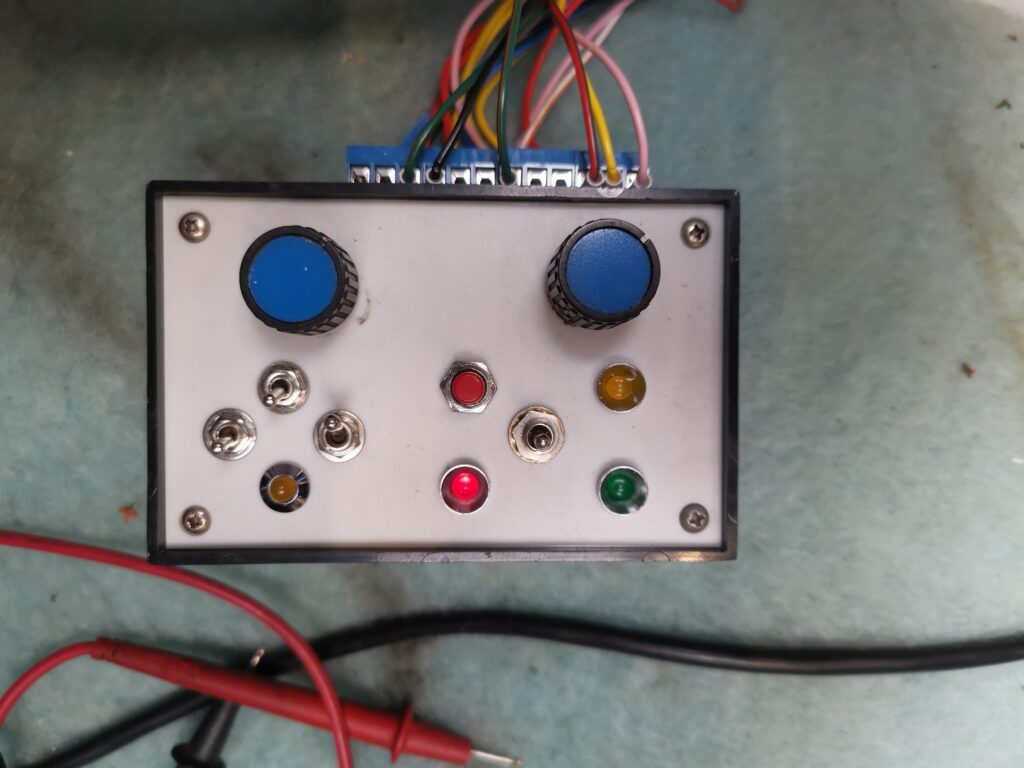
AC150 Test box
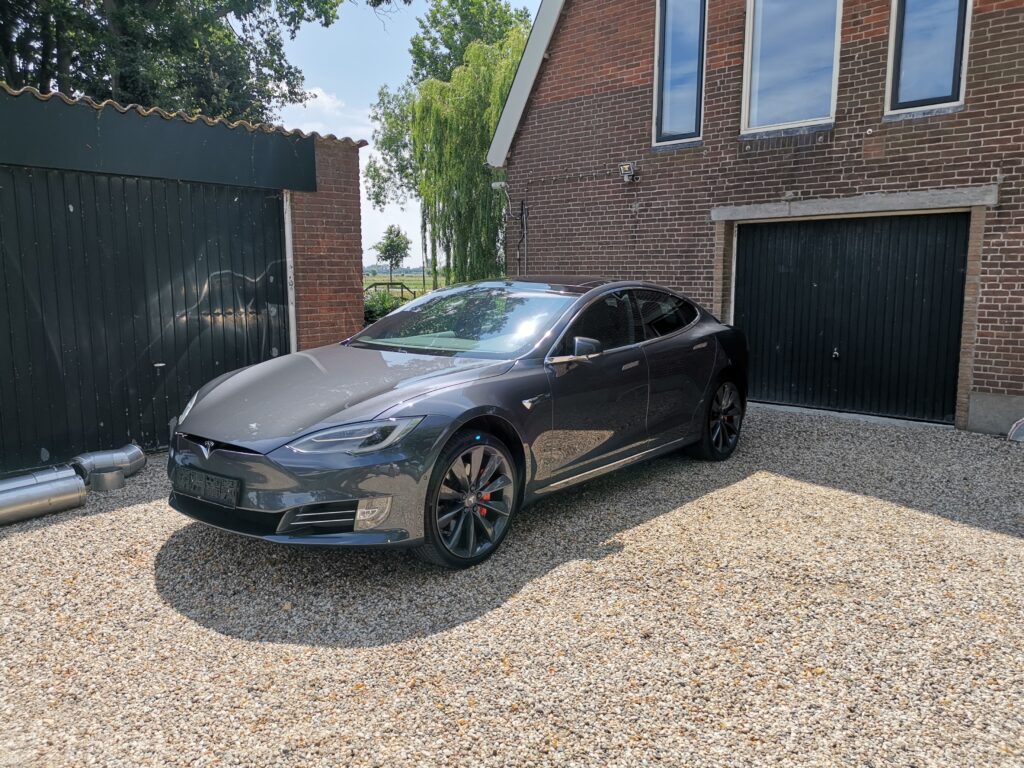
Found a replacement for my crashed Model S
2017 Model S 90D coming soon.
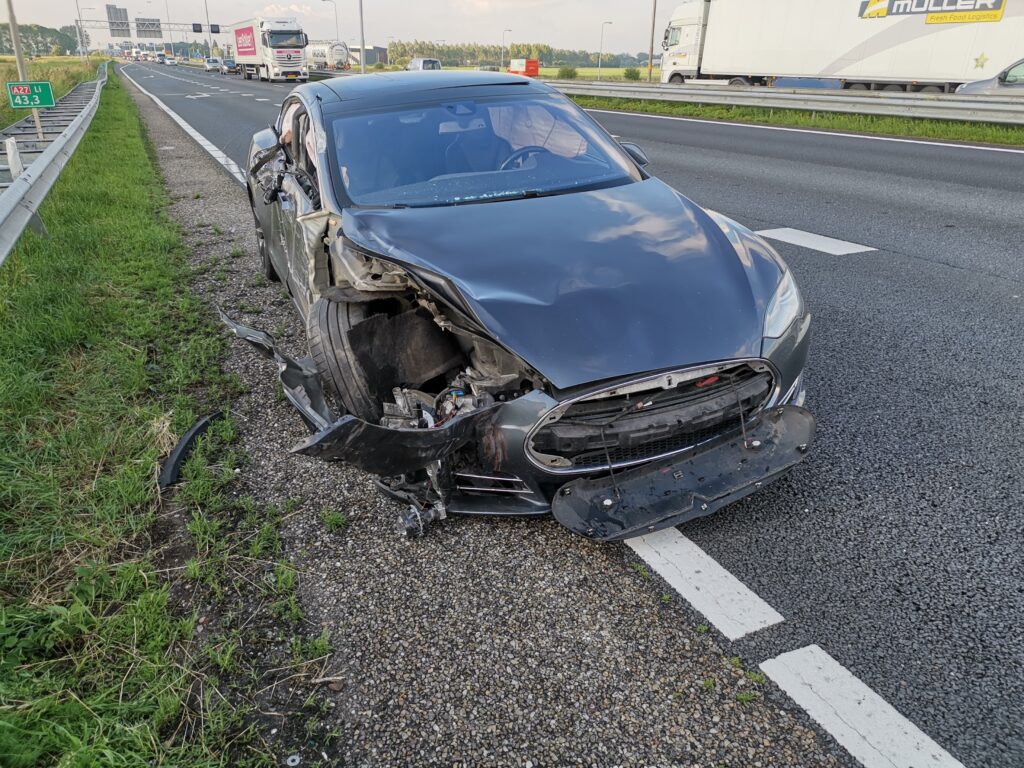
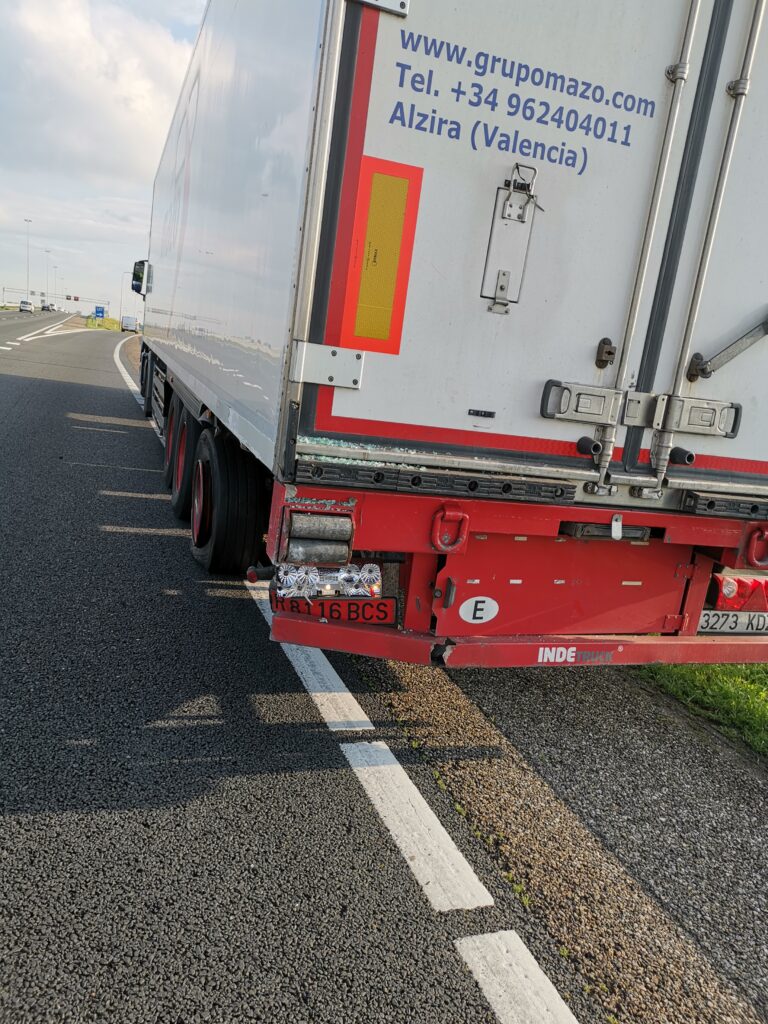
Tesla Model S P86D Totaled
Today a had a severe accident. While driving on the left lane of the highway, I hit a semi which merged into my lane. I think the Tesla is gone beyond repair.
Telsa on Board Diagnostics OBD-II
The Lotus had a LCD screen with BMS info. There was a lot of info on cell level about temperture and voltage level. The Tesla Model S doesn’t inform the driver with any information about the battery other than de SOC (state of charge). To get to this information you have to access the CAN-bus and read the CAN messages. To do so you need to find the diagnostic connector which is behind the shelf just beneath the main screen.

Telsa diagnostic connector
Tesla uses a proprietary connector instead of the standard OBD-II connector. Most diagnostic interfaces come with the OBD-II connector so an adapter cable is needed.

Model S Adapter cable
To see the CAN-bus info you need software that is capable of translating the Tesla CAN messages. You can use Scan My Tesla for Android or TM-Spy for Apple. Since I have an Android Phone I went for Scan My Tesla and bought a OBDLink MX OBD-II adapter and created cable to match the Tesla connector.

OBDLink MX with cable
22KW 3x32A DIY EVSE
The Lotus could charge on a standard CEE plug with max 32A on one fase. The Tesla has a duo charger which can handle 3x32A (3x32Ax230V equals 22KW) but it needs a Mennekes type plug with CP and PP contact. I could have gone the easy way and purchase a Tesla Wall Connector for nothing less than €530,- or any other 22KW charger, but I would like to know if I could build one myself for less.
Ev-power.eu sells a EVSE kit for €50,- which is basically a board based on PIC micro controller which is able to generate 1KHz PWM Signal to detect the vehicle and control the relay.
parts needed:
- GWL/Power EVSE Kit v1.1 for EV charging station/cable (Wallbox) – kit only
- Relay capable of switching 230V/32A
- mennekes type 2 female plug
- 220 Ohm resistor
- 5X6mm2 with wire for CP signal
- Housing

EVSE schematic
Installed end result with a temporary charge cable and CP wire ( I didn’t have the right 5G6 + 2×0,75mm charge cable)

DIY EVSE
Plugged in to the Model S

Model S chargeport
Charging at 22KW

3x32A charging
New EV on it’s way
With three year EV experience I decided that I’m ready for the next step. A daily drivable EV. What else could it be than a Tesla.

Tesla P85D
